There’s nothing quite like the panic that sets in when you turn on your RV’s hot water tap and nothing but ice-cold water flows out—especially when you’re miles from home on a camping trip. Whether you’re dealing with a complete system failure, a unit that’s been damaged by freezing temperatures, or simply an aging water heater that’s reached the end of its useful life, understanding how to tackle an RV water heater replacement can save you both time and money.
Winter is particularly brutal on RV plumbing systems, with water heaters bearing the brunt of cold weather stress. When temperatures drop, your water heater works overtime to maintain comfortable water temperatures, putting additional strain on components that may already be showing signs of wear. According to industry statistics, water heater failures spike by over 60% during winter months, making it the most common cold-weather RV repair.
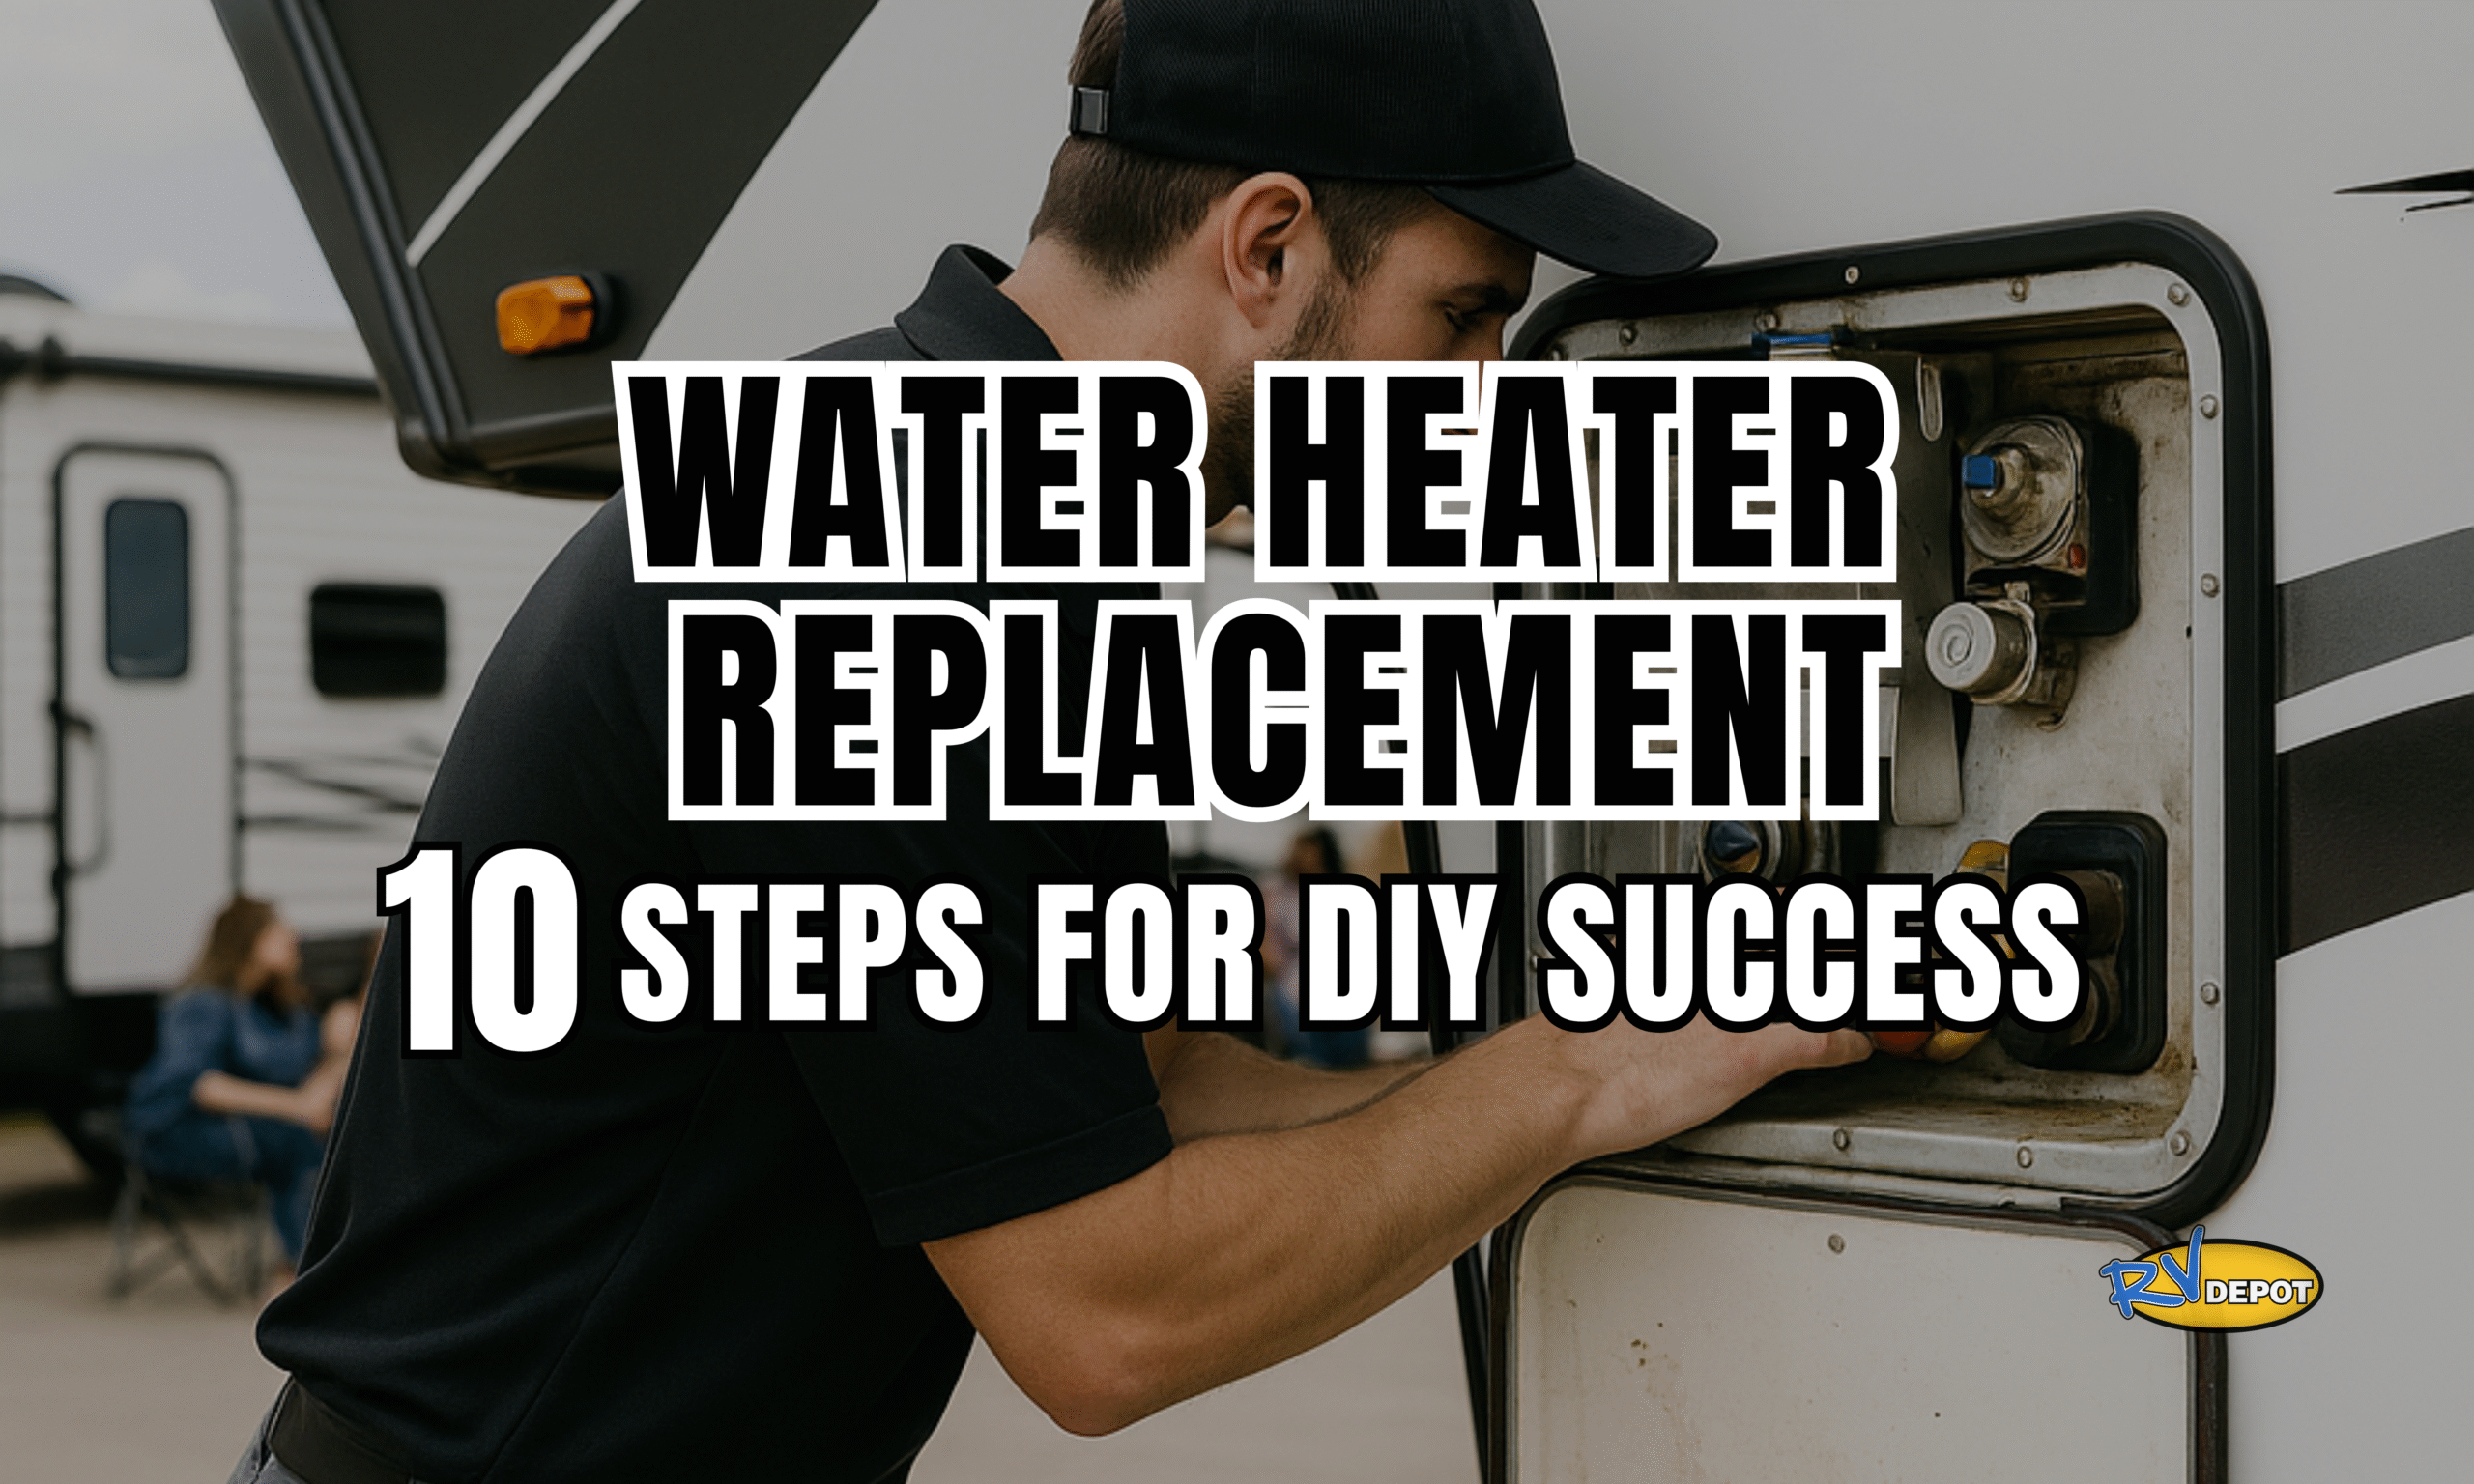
The good news? RV water heater replacement is a manageable DIY project for most RV owners with basic mechanical skills and the right tools. Unlike residential water heaters that require extensive plumbing modifications, RV units are designed for easier maintenance and replacement. Most standard RV water heaters follow similar installation patterns, making the process straightforward once you understand the basic steps.
As winter approaches, RV owners know the colder temperatures can take a toll on plumbing systems—especially the water heater. Cold weather causes your RV’s water heater to work harder, and unfortunately, even the best-maintained systems can fail, freeze, or burst.
If you’re considering a DIY water heater replacement, we’ve got you covered with this step-by-step guide. And remember, if you’d rather skip the hassle, RV Depot offers fast, professional RV repairs year-round—so you’re never left in the cold!
🧰 Tools You’ll Need
-
Pliers & two wrenches
-
Teflon tape
-
Screwdrivers
-
Sealant & butyl tape
-
Replacement cone washers
-
Soap and water solution (for leak testing)
🔄 Step-by-Step: Removing Your Old RV Water Heater
1. Prep the System
-
Turn off the LP gas supply at the tank or cylinders.
-
Shut off all incoming water supplies and activate bypass mode on your water heater.
2. Disconnect Plumbing & Gas Lines
-
Use pliers to remove hot and cold water lines from the inlet/outlet fittings.
-
Carefully use two wrenches to disconnect the LP gas line.
3. Access the Unit
-
Remove the hinge clip and access door for better visibility.
-
Clear excess silicone and thread a male 3/8″ plug into the gas inlet before pushing it through the housing.
4. Remove the Unit
-
Unscrew the control housing flange and remove any top silicone.
-
Bend the flange forward, pull the unit halfway out, and disconnect any electrical wires.
-
Completely remove the old unit and set aside.
🛠️ Installing Your New RV Water Heater
5. Prep the New Tank
-
Apply Teflon tape to all fittings.
-
Attach saved 90-degree elbows or straight fittings in proper alignment.
6. Seal and Mount
-
Clean the cutout area thoroughly, avoiding graphic damage.
-
Replace old cone washers and install butyl tape around the flange.
-
Position the heater and route the inlet gas line through the gasket or grommet.
7. Reconnect Plumbing and Gas
-
Secure the LP gas connection using a wrench to stabilize the valve.
-
Reinstall the grommet and connect hot and cold water lines.
8. Secure the Unit
-
Firmly press the control housing against the RV exterior and insert screws into the flange.
-
Apply sealant around the edges and grommet for a watertight fit.
💡 Electrical and Final Setup
9. Mount the Module Board
-
Choose a dry, accessible location. Avoid areas exposed to cleaning agents or flammable vapors.
-
Use either adhesive backing or screws to mount the board.
10. Reconnect Electrical & Fill the Tank
-
Make the necessary 12V DC connections.
-
Refill the system with water and run both hot and cold taps to purge air from the lines.
✅ Final Steps: Testing for Leaks
-
Conduct a LP drop pressure test.
-
Use a soap and water solution to check every fitting for leaks.
-
Even the smallest leak should be fixed immediately for your safety.
🧡 Don’t Want to DIY? RV Depot Has You Covered!
If this project sounds a little too hands-on—or you just don’t have the time—RV Depot’s expert service team can handle the repair for you. Whether it’s replacing your water heater, winterizing your RV, or doing full diagnostics, we offer same-day service to keep your RV adventure-ready.
📍 Visit us at 4319 N Main St, Cleburne, TX
📞 Call 817-349-7703 to schedule your service
🧰 Or walk in today—we’ll get you taken care of!
🛑 Final Thoughts: Ensuring Year-Round Comfort and Safety
Successfully completing an RV water heater replacement isn’t just about restoring hot water—it’s about maintaining the comfort and safety that makes RV life enjoyable. A properly installed water heater ensures you can enjoy hot showers, clean dishes effectively, and maintain the hygiene standards that make extended RV living practical and pleasant.
Your RV’s water heater works hard to keep you comfortable, especially in cold weather. Replacing it might seem intimidating, but with the right steps and a little patience, it’s totally doable. The key is taking your time, following safety protocols, and not rushing through critical steps like gas line connections and leak testing.
Remember that even experienced DIY mechanics can encounter unexpected challenges during installation. Older RVs may have non-standard fittings, corroded connections, or access issues that complicate the process. If you encounter problems beyond your skill level, don’t hesitate to seek professional help. A small investment in professional installation can prevent costly mistakes and ensure your safety.
When to Call the Professionals:
- Gas line complications or leaks
- Electrical wiring issues
- Structural modifications needed
- Multiple system failures
- Time constraints for urgent repairs
If you’re not ready to DIY—or run into any issues—RV Depot is always here to help. Our certified technicians have the experience and tools to handle any water heater installation quickly and safely, getting you back on the road with confidence.
Need repairs fast? Contact RV Depot — where professional service and reliable support are just around the corner. Don’t let a failed water heater derail your RV adventures when expert help is just a phone call away.