Your RV is more than just a vehicle—it’s your home, your sanctuary, and for many of our customers at RV Depot, it’s your primary residence and most significant asset. Over time, sun exposure, weather elements, and the reality of daily living can leave your RV’s exterior looking tired, faded, and worn. RV repainting offers an incredible opportunity to breathe new life into your home on wheels while protecting your investment and maintaining the property value that matters when your RV is your residence, not just a recreational vehicle.
Whether you’re dealing with chalky oxidation that makes your home look neglected, minor scratches and damage from daily living, or simply want a fresh new look that makes you proud of where you live, RV repainting can dramatically transform your rig’s appearance and boost its resale value. Unlike apartment dwellers who can’t control their building’s exterior appearance, RV repainting gives you the power to maintain and improve your home’s curb appeal regardless of its age or previous condition.
Why RV Repainting Matters for Full-Time Residents
When your RV is your full-time home, the condition of its exterior affects more than just aesthetics—it impacts your daily quality of life, your home’s structural integrity, and your financial investment. RV repainting serves as your home’s primary defense system, and understanding why proper RV repainting matters helps you make informed decisions about maintaining your residence.
From selecting the right RV repainting systems to mastering professional application techniques, understanding the complete RV repainting process ensures stunning results that protect your home for years to come. When you live in your RV full-time, you can’t ignore exterior degradation the way weekend campers might—your home’s exterior directly affects interior comfort, energy efficiency, and structural soundness.
Critical Functions of Proper RV Repainting:
RV repainting serves multiple critical purposes beyond aesthetics. The exterior paint acts as your RV’s primary defense against UV rays, moisture, oxidation, and environmental contaminants. According to the RV Industry Association, proper exterior maintenance, including paint care, can extend an RV’s lifespan by decades while maintaining resale value.
Key Benefits of RV Repainting:
| Benefit Category | Specific Advantages |
|---|---|
| Protection | UV resistance, moisture barrier, corrosion prevention |
| Value | Increased resale value, maintained appearance, investment protection |
| Performance | Better temperature regulation, reduced maintenance, extended lifespan |
| Aesthetics | Fresh appearance, personalization options, pride of ownership |
RV Surface Types and Paint Compatibility
Understanding Your RV’s Construction: Different RV manufacturers use various exterior materials, each requiring specific paint systems for optimal RV repainting results.
Common RV Exterior Materials:
- Fiberglass: Most travel trailers and some motorhomes
- Aluminum: Many motorhomes and premium trailers
- Steel: Older RVs and budget models
- Composite Materials: Modern lightweight construction
- Gelcoat: Fiberglass RVs with factory gel coating
9 Essential Steps for Professional RV Repainting
Step 1: Comprehensive Surface Assessment and Planning
Before beginning any RV repainting project, thorough evaluation determines the scope and approach:
Surface Condition Evaluation:
- Oxidation Level: Chalk test to determine surface degradation
- Existing Paint Condition: Adhesion, cracking, or peeling assessment
- Surface Contamination: Identifying stains, mildew, or embedded dirt
- Structural Issues: Checking for dents, scratches, or damage requiring repair
Planning Considerations:
- Weather Conditions: Temperature, humidity, and wind factors
- Workspace Requirements: Adequate ventilation and lighting needs
- Timeline Planning: Multi-day project scheduling
- Material Calculations: Paint quantities and supplies needed
Professional Assessment Benefits:
- Accurate Cost Estimation: Understanding total project investment
- Proper Product Selection: Matching paint systems to surface types
- Realistic Timeline: Planning for proper drying and curing times
- Quality Expectations: Setting achievable finish goals
Step 2: Advanced Paint Selection for RV Applications
Choosing the Right Paint System:
Premium Paint Options for RV Repainting:
Acrylic Urethane Systems:
- Best For: Fiberglass and properly prepared metal surfaces
- Advantages: Excellent durability, UV resistance, chemical resistance
- Application: Two-part system requiring mixing, professional-grade results
- Lifespan: 8-12 years with proper maintenance
High-Quality Acrylic Enamel:
- Best For: Most RV exterior surfaces
- Advantages: Good durability, easier application, cost-effective
- Application: Single-stage system, DIY-friendly application
- Lifespan: 5-8 years with proper care
Polyurethane Systems:
- Best For: High-end motorhomes and premium applications
- Advantages: Maximum durability, chemical resistance, show-quality finish
- Application: Professional application recommended
- Lifespan: 10-15 years with exceptional performance
Specialized RV Paint Products:
- Marine-Grade Paints: Excellent for RVs exposed to coastal environments
- Elastomeric Coatings: Flexible systems for surfaces that expand/contract
- Ceramic-Enhanced Paints: Advanced UV protection and easy cleaning
Step 3: Professional-Grade Surface Preparation
Surface preparation accounts for 80% of paint job success:
Deep Cleaning Protocol:
- Initial Rinse: Remove loose dirt and debris
- Degreasing: TSP or specialized RV cleaners for stubborn contamination
- Mildew Treatment: Bleach solution for biological growth
- Final Rinse: Complete removal of all cleaning residues
- Drying Time: 24-48 hours depending on conditions
Oxidation Removal:
- Light Oxidation: Polishing compounds and mechanical buffing
- Moderate Oxidation: Fine abrasive compounds with power tools
- Heavy Oxidation: Progressive sanding grits and chemical strippers
- Gelcoat Restoration: Specialized compounds for fiberglass surfaces
Surface Defect Repair:
- Minor Scratches: Rubbing compounds and polishing
- Deep Gouges: Body filler application and shaping
- Dents and Dings: Professional bodywork or DIY repair kits
- Seam Issues: Re-caulking and surface smoothing
Step 4: Strategic Sanding and Surface Preparation
Proper sanding creates the foundation for successful RV repainting:
Sanding Progression:
- Initial Sanding: 320-grit for adhesion promotion
- Smoothing Sanding: 400-600 grit for surface refinement
- Final Preparation: 800-1000 grit for smooth finish base
- Between Coats: Light scuffing with fine grits
Sanding Techniques:
- Orbital Sanders: Consistent finish on large flat surfaces
- Hand Sanding: Detail work around fixtures and curves
- Wet Sanding: Superior finish on final preparation
- Dust Collection: Proper ventilation and cleanup procedures
Critical Sanding Areas:
- High-Wear Zones: Front cap, lower panels, door frames
- Complex Surfaces: Around windows, vents, and accessories
- Edge Preparation: Smooth transitions between surfaces
- Repair Areas: Blending bodywork into surrounding surfaces
Step 5: Advanced Primer Application Systems
Professional primer application ensures paint adhesion and longevity:
Primer Selection:
- Adhesion Promoters: For difficult-to-paint surfaces
- High-Build Primers: Filling minor imperfections
- Epoxy Primers: Maximum corrosion protection
- Self-Etching Primers: Direct-to-metal applications
Application Techniques:
- Spray Application: Professional-quality equipment for best results
- Brush and Roll: Acceptable for smaller areas and touch-ups
- Thin Coats: Multiple light coats vs. single heavy application
- Proper Timing: Adhesion windows between primer and paint
Quality Control:
- Coverage Assessment: Ensuring complete surface coverage
- Defect Identification: Addressing runs, sags, or thin spots
- Adhesion Testing: Confirming proper primer bonding
- Surface Smoothness: Final inspection before paint application
Step 6: Professional Paint Application Techniques
Achieving showroom-quality results requires proper application methods:
Spray Application (Recommended):
- Equipment Selection: HVLP or airless systems for different paint types
- Spray Pattern: Consistent overlap and distance maintenance
- Environmental Control: Temperature and humidity monitoring
- Technique Mastery: Smooth, consistent movements
Application Sequence:
- Tack Cloth Wipe: Final dust removal before painting
- First Coat: Light, even coverage establishing base
- Flash Time: Proper solvent evaporation between coats
- Subsequent Coats: Building depth and coverage
- Final Coat: Achieving desired color depth and uniformity
Common Application Challenges:
- Overspray Control: Masking and containment strategies
- Weather Conditions: Working within optimal parameters
- Color Matching: Ensuring consistent color across large surfaces
- Texture Consistency: Maintaining uniform surface texture
Step 7: Clear Coat Application for Maximum Protection
Clear coat provides the final protection layer and enhances appearance:
Clear Coat Benefits:
- UV Protection: Preventing color fade and oxidation
- Chemical Resistance: Protection from environmental contaminants
- Scratch Resistance: Improved durability for high-contact areas
- Gloss Enhancement: Deep, rich appearance
Application Process:
- Surface Preparation: Light scuffing of base color
- Dust-Free Environment: Critical for clear coat quality
- Thin, Even Coats: Multiple light applications
- Final Inspection: Addressing any defects before curing
Clear Coat Options:
- Single-Stage Systems: Color and protection in one product
- Two-Stage Systems: Separate color and clear applications
- Specialty Coatings: Ceramic or nano-enhanced protection
- Matte Finishes: Non-gloss options for specific aesthetics
Step 8: Professional Finishing and Quality Control
Final finishing determines the overall quality of your RV repainting project:
Defect Correction:
- Dust Nibs: Light sanding and polishing removal
- Orange Peel: Progressive wet sanding and compounding
- Color Variations: Spot repairs and blending techniques
- Clear Coat Issues: Repair or refinish decisions
Polishing and Buffing:
- Cut and Polish: Removing fine scratches and imperfections
- Final Polish: Achieving maximum gloss and depth
- Protection Application: Wax or sealant for ongoing maintenance
- Detail Cleanup: Removing masking and final inspection
Step 9: Proper Curing and Long-Term Care
Proper curing ensures maximum paint performance:
Curing Requirements:
- Initial Cure: 24-48 hours before light use
- Full Cure: 30 days for maximum hardness and durability
- Environmental Factors: Temperature and humidity effects
- Usage Restrictions: Avoiding damage during cure period
Long-Term Maintenance:
- Regular Washing: Proper techniques and products
- Periodic Waxing: Protection maintenance schedule
- Damage Assessment: Early identification and repair
- Touch-Up Procedures: Maintaining appearance between repaints
 DIY vs. Professional RV Repainting: Making the Right Choice
When DIY Makes Sense:
- Smaller RVs: Travel trailers and pop-ups
- Limited Budget: Cost savings on labor
- Mechanical Skills: Comfort with tools and techniques
- Time Availability: Flexible scheduling for multi-day projects
DIY Challenges:
- Equipment Investment: Spray systems, compressors, safety equipment
- Skill Requirements: Learning curve for professional techniques
- Environmental Control: Home workshop limitations
- Quality Consistency: Achieving professional-level results
DIY Success Strategies:
- Start Small: Practice on less visible areas first
- Quality Materials: Invest in professional-grade products
- Proper Preparation: Don’t rush the prep work
- Environmental Control: Wait for optimal conditions
Professional RV Repainting Advantages
Why Go Professional:
- Experience and Expertise: Years of specialized RV knowledge
- Professional Equipment: Commercial-grade spray systems and tools
- Controlled Environment: Paint booths and climate control
- Warranty Coverage: Guaranteed results and touch-up services
Professional Service Benefits:
- Time Savings: Completed efficiently with minimal downtime
- Quality Assurance: Professional standards and inspection
- Problem Resolution: Experience handling complex issues
- Insurance Coverage: Protection against potential damage
 Common RV Repainting Challenges and Solutions
Weather-Related Issues
Challenge: Paint application in suboptimal weather conditions Solution: Professional facilities with climate control eliminate weather variables
Challenge: UV damage and fading in harsh climates Solution: Premium UV-resistant paint systems and protective coatings
Surface-Specific Problems
Challenge: Adhesion issues on different RV materials Solution: Proper surface preparation and compatible primer systems
Challenge: Flexibility requirements for RV surfaces Solution: Elastomeric paint systems that flex with thermal expansion
Color and Finish Matching
Challenge: Matching existing colors for partial repaints Solution: Professional color matching equipment and techniques
Challenge: Achieving consistent finish across large surfaces Solution: Professional spray equipment and experienced application techniques
Maintenance Tips for Long-Lasting Results
Immediate Post-Paint Care
First 30 Days:
- Gentle Washing: Hand washing with mild soap only
- Avoid Waxing: Allow paint to fully cure before applying protection
- Inspect Regularly: Monitor for any curing issues or defects
- Protect from Elements: Covered storage when possible
Long-Term Maintenance:
- Regular Cleaning: Monthly washing with RV-specific products
- Periodic Waxing: Quality carnauba or synthetic wax every 3-4 months
- UV Protection: Covered storage or UV-blocking treatments
- Prompt Repairs: Address chips or scratches immediately
Signs Your RV Needs Repainting
Visual Indicators:
- Chalking: White powder when rubbing the surface
- Fading: Noticeable color loss, especially on sun-exposed areas
- Oxidation: Dull, matte appearance replacing original gloss
- Cracking: Paint film failure and substrate exposure
Performance Issues:
- Water Absorption: Paint no longer providing moisture barrier
- Staining: Permanent discoloration from environmental contaminants
- Adhesion Loss: Paint peeling or flaking from substrate
- Surface Roughness: Loss of smooth finish texture
RV Depot’s Professional Repainting Services
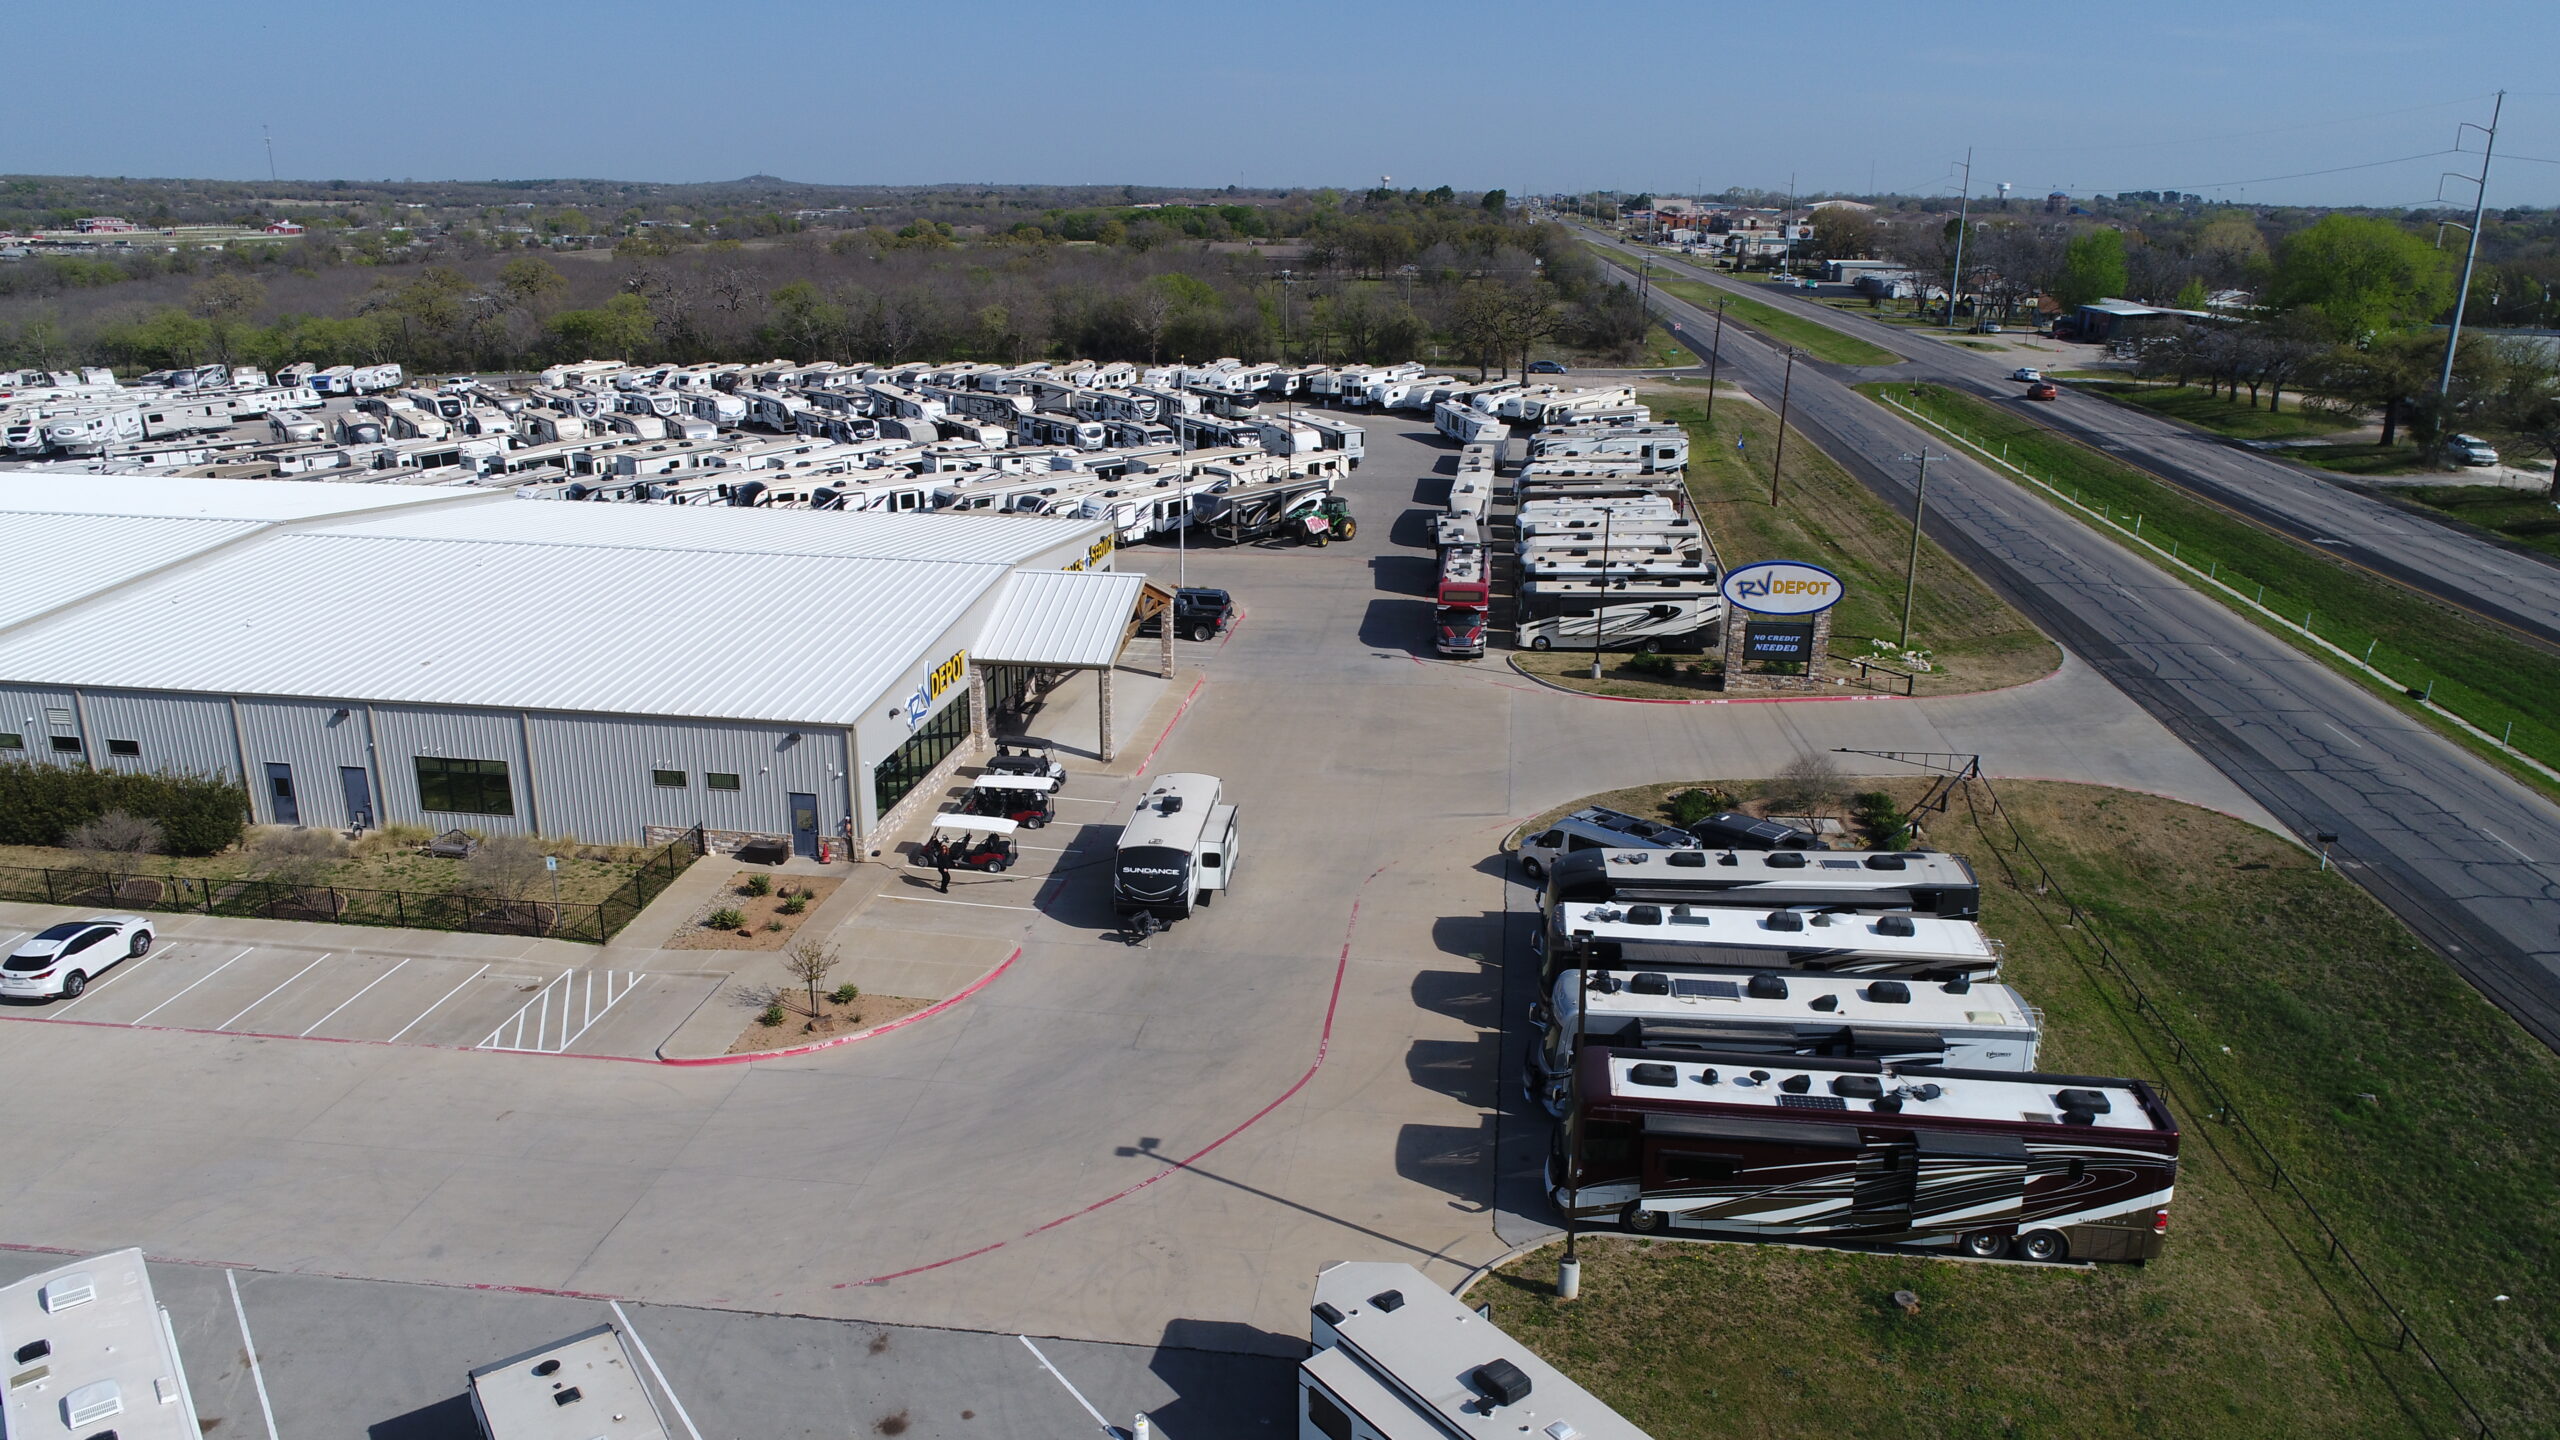
At RV Depot in Cleburne, Texas, our experienced service department understands the complexities of RV repainting and offers comprehensive solutions for every type of RV exterior restoration need. With over 30 years in the RV industry, our certified technicians have the expertise to transform your RV’s appearance while protecting your investment.
Comprehensive Assessment:
- Professional Evaluation: Detailed inspection of your RV’s exterior condition
- Surface Analysis: Identifying the best approach for your specific RV type
- Cost Estimation: Transparent pricing for all repainting services
- Timeline Planning: Realistic scheduling that works with your travel plans
Complete RV Services:
- Pre-Paint Repairs: Bodywork, dent removal, and surface preparation
- System Integration: Working around RV systems and components
- Interior Protection: Safeguarding your RV’s interior during painting
- Final Inspection: Quality control and customer walkthrough
Schedule Our RV Repainting Expertise
Don’t let a tired-looking exterior diminish your RV adventures. Whether you’re planning a complete makeover or addressing specific paint issues, RV repainting can dramatically transform your rig’s appearance and protect your investment for years to come.
📍 Visit: 4319 N. Main St, Cleburne, TX 76033 📱 Call or text: (817) 678-5133 💻 Browse Inventory: rvdepottx.com
Questions about full-time RV living? Join thousands of Texans who’ve discovered that home isn’t a place—it’s wherever you park it. Full-Time RV Living Community

