Every RV owner eventually faces the inevitable maintenance task of replacing old, failing seals around showers, windows, and exterior panels. When that once-pristine white seal becomes discolored, cracked, or pulls away from surfaces, it’s time for action. Old, deteriorating seals aren’t just unsightly—they’re a direct threat to your RV’s structural integrity, allowing water infiltration that can cause expensive damage to walls, floors, and electrical systems.
Proper seal maintenance presents unique challenges compared to home projects. RVs use different materials, experience constant vibration and movement, and often have delicate finishes that require specialized techniques to avoid damage. The confined spaces, curved surfaces, and multiple material interfaces common in recreational vehicles make this maintenance both more critical and more challenging than similar work in traditional buildings.
The key to successful seal replacement lies in understanding the different materials used in RVs, choosing appropriate removal techniques for each situation, and preparing surfaces properly for new applications. Rushing through the process or using incorrect methods can damage expensive RV components and create bigger problems than the original seal failure.
Understanding Different Seal Types in Your RV
Common Materials
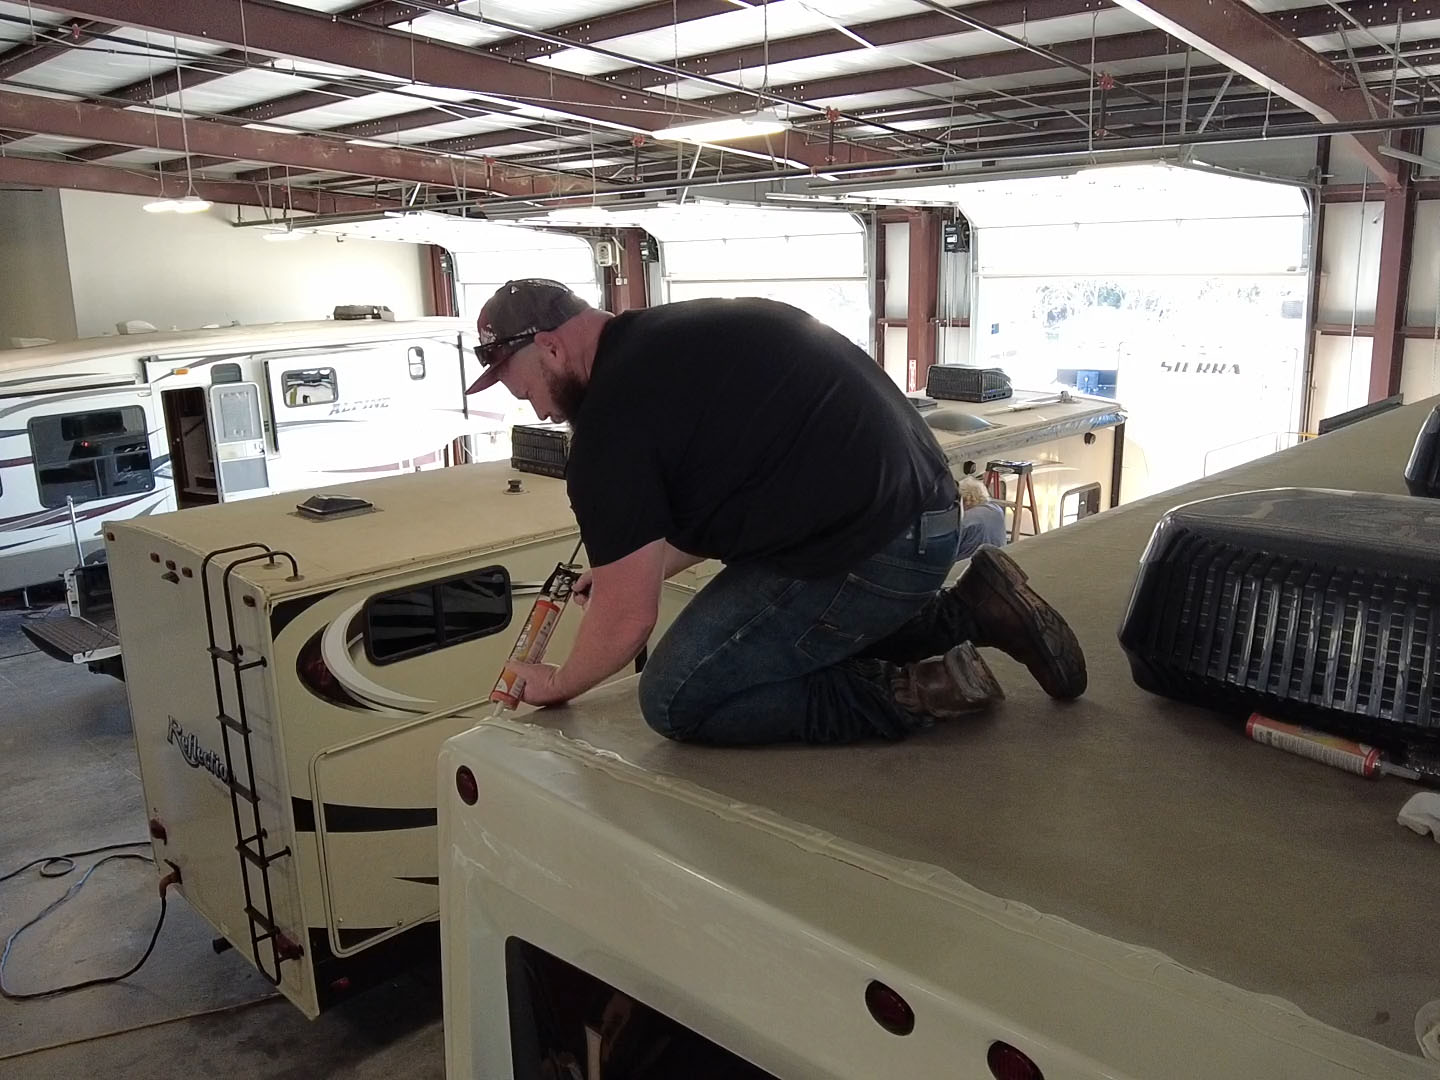
RVs use several different types of caulk, each designed for specific applications and environmental conditions. Understanding these differences is crucial for selecting appropriate removal methods and avoiding damage to surrounding materials.
RV Sealant Types and Applications:
| Caulk Type | Primary Use | Removal Difficulty | Special Considerations |
|---|---|---|---|
| Silicone | Bathrooms, windows | High | Requires specific solvents |
| Polyurethane | Exterior seals | Very High | Extremely adhesive |
| Acrylic Latex | Interior trim | Low | Water-based, easy removal |
| Butyl | Roof applications | Medium | Remains flexible |
| Hybrid Polymer | Multi-purpose | Medium | Balanced properties |
Silicone Sealant Characteristics: Silicone provides excellent water resistance and flexibility, making it ideal for areas with temperature fluctuations and moisture exposure. However, silicone’s superior adhesion makes it the most challenging to remove, often requiring specialized solvents and techniques.
Polyurethane Sealant Properties: Polyurethane offers exceptional durability and adhesion, particularly for exterior applications. Its aggressive bonding characteristics make removal extremely difficult, often requiring mechanical methods and significant patience.
Acrylic Latex Advantages: Water-based acrylic latex caulk is easiest to remove and clean up, making it popular for interior applications. However, its limited flexibility and moisture resistance restrict its use in demanding applications.
Identifying Seal Condition and Removal Needs
Before beginning removal, assess the caulk’s condition and determine the appropriate removal strategy. Different failure modes require different approaches for effective removal.
Caulk Failure Indicators:
Visual Signs:
- Cracking or splitting along the caulk line
- Discoloration from mold, mildew, or UV exposure
- Shrinkage creating gaps between caulk and surfaces
- Peeling or pulling away from one or both surfaces
Functional Problems:
- Water leaks around previously sealed areas
- Air infiltration causing drafts or energy loss
- Loose or missing sections of caulk
- Hardening that prevents proper sealing
Assessment Strategy: Test caulk flexibility by gently pressing with your finger. Fresh, effective caulk should compress slightly and return to its original shape. Hard, cracked, or permanently deformed caulk requires replacement.
Essential Tools and Materials for RV Caulk Removal
Professional-Grade Tool Selection
Success in RV caulk removal depends heavily on having the right tools for the job. Professional-grade tools not only make the work easier but also reduce the risk of damage to expensive RV components.
Essential Tool Kit:
| Tool Category | Specific Items | Primary Use |
|---|---|---|
| Cutting Tools | Utility knife, craft knife, caulk cutting tool | Initial caulk separation |
| Removal Tools | Caulk scraper, putty knife, plastic scrapers | Mechanical removal |
| Heat Sources | Heat gun, hair dryer | Caulk softening |
| Solvents | Caulk remover, mineral spirits, rubbing alcohol | Chemical dissolution |
| Cleaning Supplies | Rags, paper towels, vacuum cleaner | Surface preparation |
Specialized RV Considerations: RVs often have delicate finishes that require plastic or wooden tools rather than metal scrapers that might scratch surfaces. Keep both rigid and flexible scrapers available for different surface types and caulk consistencies.
Safety Equipment: Always have safety glasses, work gloves, and adequate ventilation when using chemical solvents or heat guns. RV interiors can accumulate fumes quickly, making ventilation critical for safe work conditions.
Chemical Caulk Removal Products
Chemical caulk removers can significantly reduce the physical effort required for caulk removal, particularly with stubborn silicone and polyurethane caulks.
Solvent Selection Guide:
| Caulk Type | Recommended Solvent | Application Method | Safety Considerations |
|---|---|---|---|
| Silicone | Silicone caulk remover | Brush or squeeze bottle | Ventilation required |
| Polyurethane | Polyurethane solvent | Spray application | Skin protection needed |
| Acrylic | Warm water | Spray and scrape | Minimal precautions |
| General purpose | Mineral spirits | Cloth application | Fire hazard awareness |
Application Techniques: Apply solvents according to manufacturer directions, typically allowing 15-30 minutes for penetration before attempting removal. Work in well-ventilated areas and test solvents on inconspicuous areas first to ensure compatibility with RV materials.
Environmental Considerations: Choose low-VOC solvents when possible, and dispose of used materials according to local regulations. Many RV parks have specific disposal requirements for chemical waste.
Step-by-Step RV Caulk Removal Process
Phase 1: Preparation and Assessment
Proper preparation prevents damage and ensures efficient removal. Take time to assess the situation and gather all necessary materials before beginning work.
Pre-Removal Checklist:
- Identify caulk type and condition
- Gather all necessary tools and materials
- Ensure adequate ventilation
- Protect surrounding surfaces with masking tape
- Have cleaning supplies ready for immediate cleanup
Surface Protection: Use high-quality painter’s tape to protect surfaces adjacent to caulk lines. This protection is particularly important around delicate RV finishes that might be damaged by scraping or solvents.
Work Area Organization: Set up a clean workspace with all tools within easy reach. Keep rags and cleaning supplies handy for immediate cleanup of debris and solvents.
Phase 2: Initial Sealant Cutting and Scoring
The first step in mechanical removal involves cutting through the sealant to break its adhesive bonds and create starting points for removal.
Cutting Technique:
| Step | Action | Tools Needed | Safety Tips |
|---|---|---|---|
| 1 | Score caulk surface | Utility knife | Light pressure, avoid surface damage |
| 2 | Cut along both edges | Craft knife | Follow caulk line precisely |
| 3 | Create removal tabs | Caulk cutting tool | Cut perpendicular to caulk line |
| 4 | Test removal resistance | Fingers or scraper | Gentle pressure to avoid damage |
Cutting Best Practices: Use sharp blades and light pressure to avoid cutting into RV surfaces. Replace blades frequently, as dull blades require more pressure and increase the risk of slipping and causing damage.
Curved Surface Challenges: RVs often have curved surfaces that make straight cuts difficult. Use flexible cutting tools or make multiple small cuts rather than trying to follow curves with rigid blades.
Phase 3: Heat Application for Stubborn Sealant
Heat softens caulk and makes removal significantly easier, particularly for silicone and polyurethane types that resist chemical solvents.
Heat Application Methods:
Heat Gun Technique: Use low to medium heat settings (300-500°F) and keep the gun moving to avoid overheating any single area. Focus heat on the caulk itself rather than surrounding surfaces.
Hair Dryer Alternative: A hair dryer provides gentler heat that’s safer for delicate RV finishes. Work in smaller sections and allow adequate heating time for effective softening.
Heat Application Safety: Never use open flames or excessive heat near RV materials. Many RV components are made from plastics or composites that can be damaged by high temperatures.
Timing and Technique: Apply heat for 30-60 seconds, then immediately begin removal while the caulk is still warm. Work in small sections to maintain optimal caulk temperature throughout the removal process.
Phase 4: Mechanical Removal
With the sealant properly prepared, begin mechanical removal using appropriate tools and techniques for your specific situation.
Removal Sequence:
| Priority | Area | Technique | Expected Difficulty |
|---|---|---|---|
| 1 | Loose sections | Hand pulling | Easy |
| 2 | Softened areas | Scraper removal | Moderate |
| 3 | Stubborn sections | Solvent + scraping | Difficult |
| 4 | Residual adhesive | Fine scraping | Moderate |
Scraping Techniques: Use consistent, moderate pressure and work along the sealant line rather than perpendicular to it. This approach reduces the risk of gouging surfaces while maintaining effective removal.
Managing Debris: Have a vacuum cleaner ready to remove caulk debris as you work. This prevents small pieces from spreading throughout your RV and makes cleanup much easier.
Phase 5: Residue Removal and Surface Cleaning
After removing the bulk of the old caulk, focus on eliminating residual adhesive and preparing surfaces for new sealant application.
Residue Removal Process:
- Apply appropriate solvent to remaining adhesive
- Allow penetration time as specified by manufacturer
- Use fine scrapers or abrasive pads to remove stubborn residue
- Clean surfaces with degreasing agents to remove all traces of old sealant
Surface Preparation Standards: Surfaces must be completely clean, dry, and free from any residual caulk or adhesive. Even small amounts of old caulk can prevent proper adhesion of new sealant, leading to premature failure.
Final Cleaning: Use rubbing alcohol or a mild detergent solution to remove all traces of solvents and debris. Allow surfaces to dry completely before applying new sealant.

Advanced Techniques for Challenging Situations
Dealing with Multiple Caulk Layers
RVs often have multiple layers of sealant applied over years of maintenance, creating complex removal challenges that require specialized approaches.
Layer Identification: Different layers may be visible in cross-section, each requiring specific removal techniques. Identify each layer and plan removal strategies accordingly.
Sequential Removal: Remove layers in reverse chronological order, starting with the most recent application. This approach often reveals easier removal paths as you work down to older, potentially more brittle layers.
Solvent Compatibility: Ensure that solvents used for one layer won’t adversely affect deeper layers or surrounding materials. Test compatibility in inconspicuous areas before proceeding with full removal.
Exterior Removal Challenges
Exterior RV caulk faces extreme weather conditions and UV exposure that can make removal more difficult while increasing the importance of proper technique.
Weather-Aged: UV exposure can make caulk brittle and difficult to remove in large pieces. Work in smaller sections and use more frequent heat application to maintain workability.
Painted Surfaces: Many RV exteriors have painted finishes that require extra care during caulk removal. Use plastic scrapers and avoid solvents that might damage paint finishes.
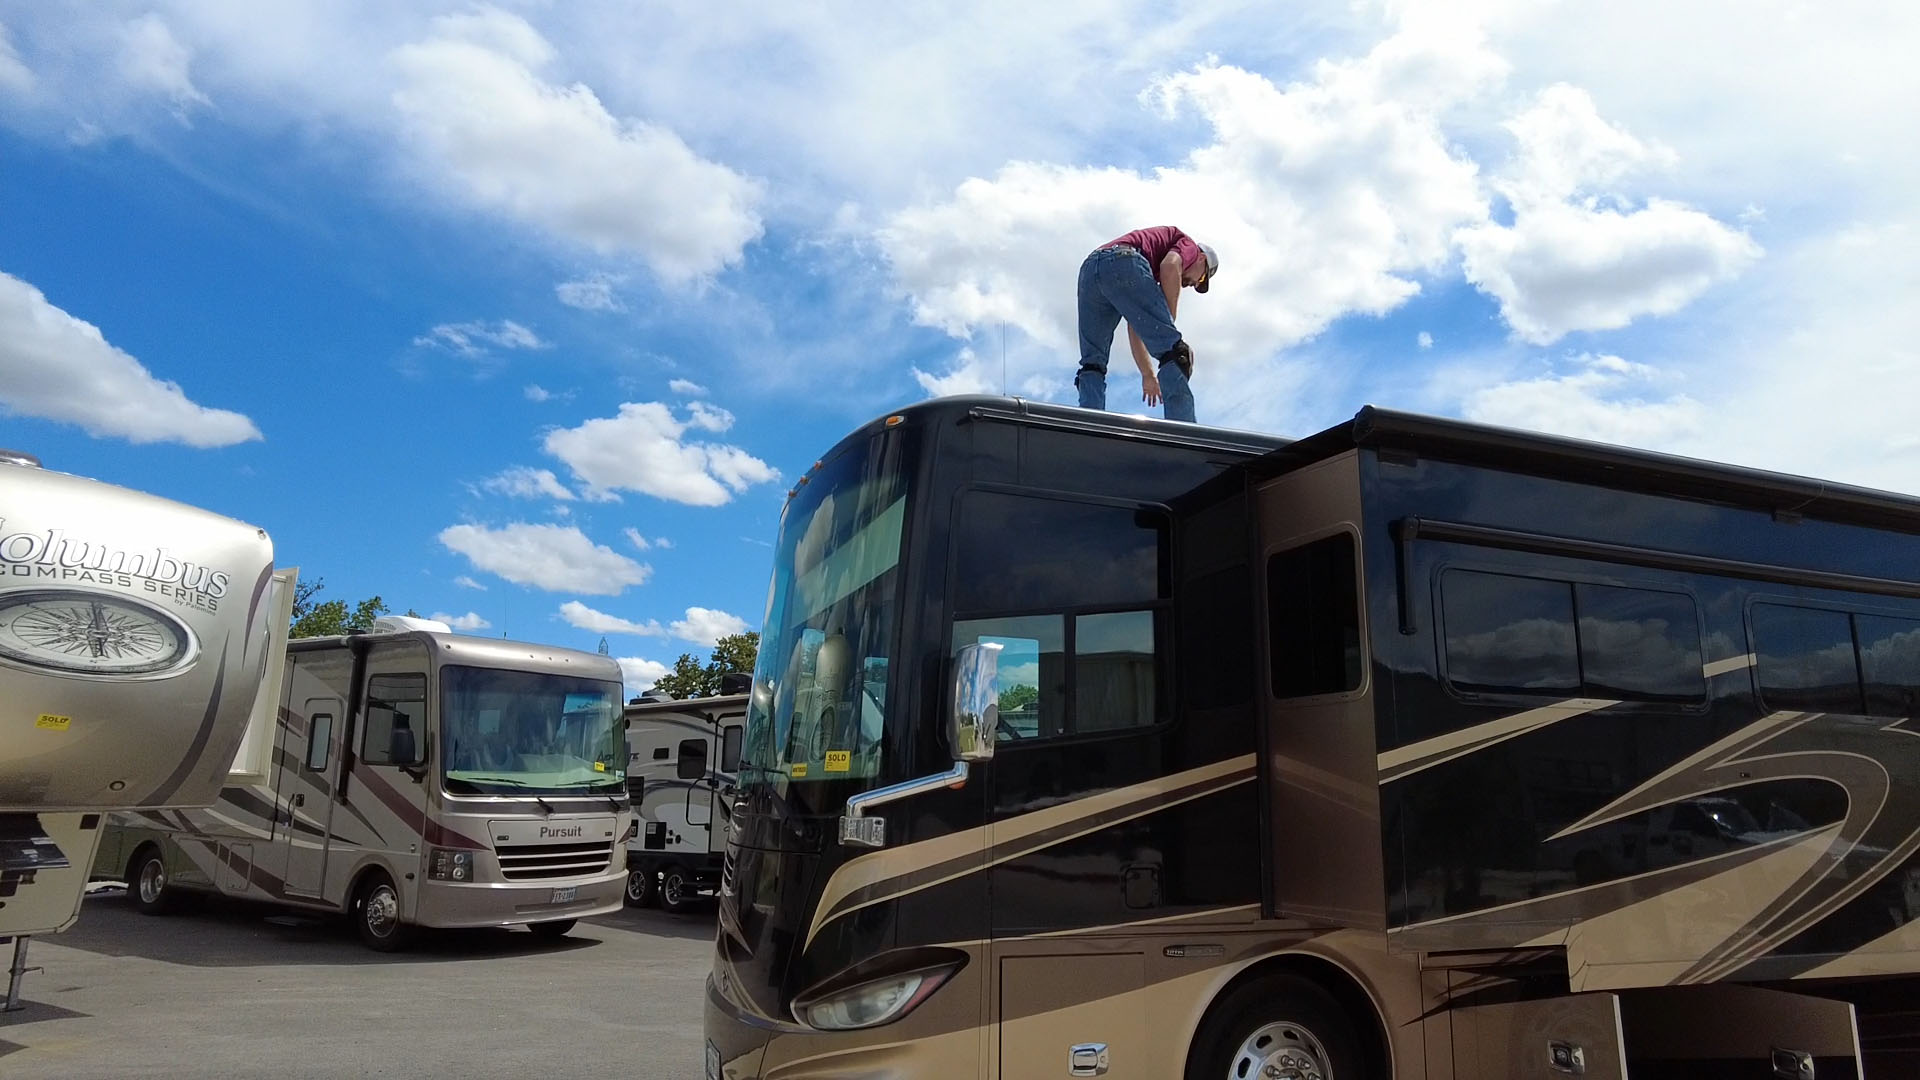
Accessibility Challenges: Exterior seal lines may be in difficult-to-reach locations requiring ladders or special positioning. Ensure safe working conditions and consider professional assistance for high or dangerous areas.
Interior Bathroom and Kitchen Applications
Interior caulk removal requires special attention to ventilation and protection of finished surfaces that might be damaged by aggressive removal techniques.
Ventilation Requirements: Bathroom and kitchen areas often have limited ventilation, making proper air circulation critical when using solvents or heat. Use fans and open windows to maintain air quality.
Moisture Considerations: These areas may have moisture behind failed caulk that needs to be addressed before new caulk application. Allow adequate drying time and consider using moisture meters to verify dry conditions.
Fixture Protection: Protect plumbing fixtures, appliances, and finished surfaces from damage during removal. Use appropriate masking and protective materials.
Common Mistakes and How to Avoid Them
Rushing the Process
The most common mistake in removal is attempting to speed up the process, which often leads to surface damage and poor results.
Time Management: Allow adequate time for each phase of the removal process. Chemical solvents need time to work, heat application requires patience, and mechanical removal should be deliberate rather than hurried.
Pressure Control: Excessive pressure during scraping can damage RV surfaces and create more work than necessary. Use moderate, consistent pressure and sharp tools rather than brute force.
Sequential Approach: Work systematically through each step rather than jumping between techniques. This approach is more efficient and reduces the risk of missing steps that could affect final results.
Inadequate Surface Preparation
Failing to properly prepare surfaces for new caulk application often leads to premature failure and the need to repeat the entire process.
Cleaning Standards: All traces of old sealant, adhesive, and solvents must be removed before applying new caulk. Even small amounts of contamination can prevent proper adhesion.
Drying Requirements: Surfaces must be completely dry before new sealant application. Moisture trapped under new caulk can cause adhesion failure and promote mold growth.
Compatibility Testing: Test surface compatibility with new caulk in inconspicuous areas before proceeding with full application. Some surface treatments or residual solvents can prevent proper sealant adhesion.
Tool Selection Errors
Using inappropriate tools for sealant removal can damage expensive RV components and make the job more difficult than necessary.
Material Compatibility: Choose tools appropriate for the surfaces you’re working on. Metal scrapers can damage soft plastics, while plastic tools may be ineffective on hard, aged sealant.
Blade Maintenance: Keep cutting tools sharp throughout the project. Dull blades require more pressure and increase the risk of slipping and causing damage.
Solvent Selection: Use solvents appropriate for the specific sealant type and compatible with surrounding materials. Test in inconspicuous areas before general application.
When to Seek Professional Help
Recognizing Complex Situations
Some caulk removal situations exceed the capabilities of DIY approaches and require professional expertise to avoid damage and ensure proper results.
Professional Help Indicators:
- Multiple layers of different caulk types
- Structural or safety-critical seals
- Expensive or delicate surrounding materials
- Evidence of water damage behind failed caulk
- Hard-to-reach or dangerous locations
Structural Considerations: Caulk around windows, doors, and roof penetrations often serves structural purposes beyond simple sealing. Professional assessment ensures that removal and replacement maintain structural integrity.

RV Depot’s Caulk Removal Support
Expert Consultation and Assessment
At RV Depot in Cleburne, Texas, we understand the challenges of proper seal maintenance. Our experienced technicians can assess your specific situation and recommend the most appropriate removal methods for your RV and skill level.
Product Recommendations: We stock professional-grade caulk removal tools, solvents, and replacement materials specifically designed for RV applications. Our staff can guide you through product selection and proper application techniques.
Professional Service Options
If you need help with challenging caulk removal projects, our service center has the expertise and equipment to handle complex situations safely and effectively.
Service Capabilities:
- Exterior seal removal and replacement
- Interior bathroom and kitchen caulk service
- Roof membrane seal maintenance
- Window and door seal replacement
Need professional help with challenging seal replacement projects? Contact RV Depot’s service center 📱 Call or text: (817) 678-5133
📍 Visit: 4319 N. Main St, Cleburne, TX 76033 💻 Browse Inventory: rvdepottx.com
Questions about full-time RV living? Join thousands of Texans who’ve discovered that home isn’t a place—it’s wherever you park it. Full-Time RV Living Community

