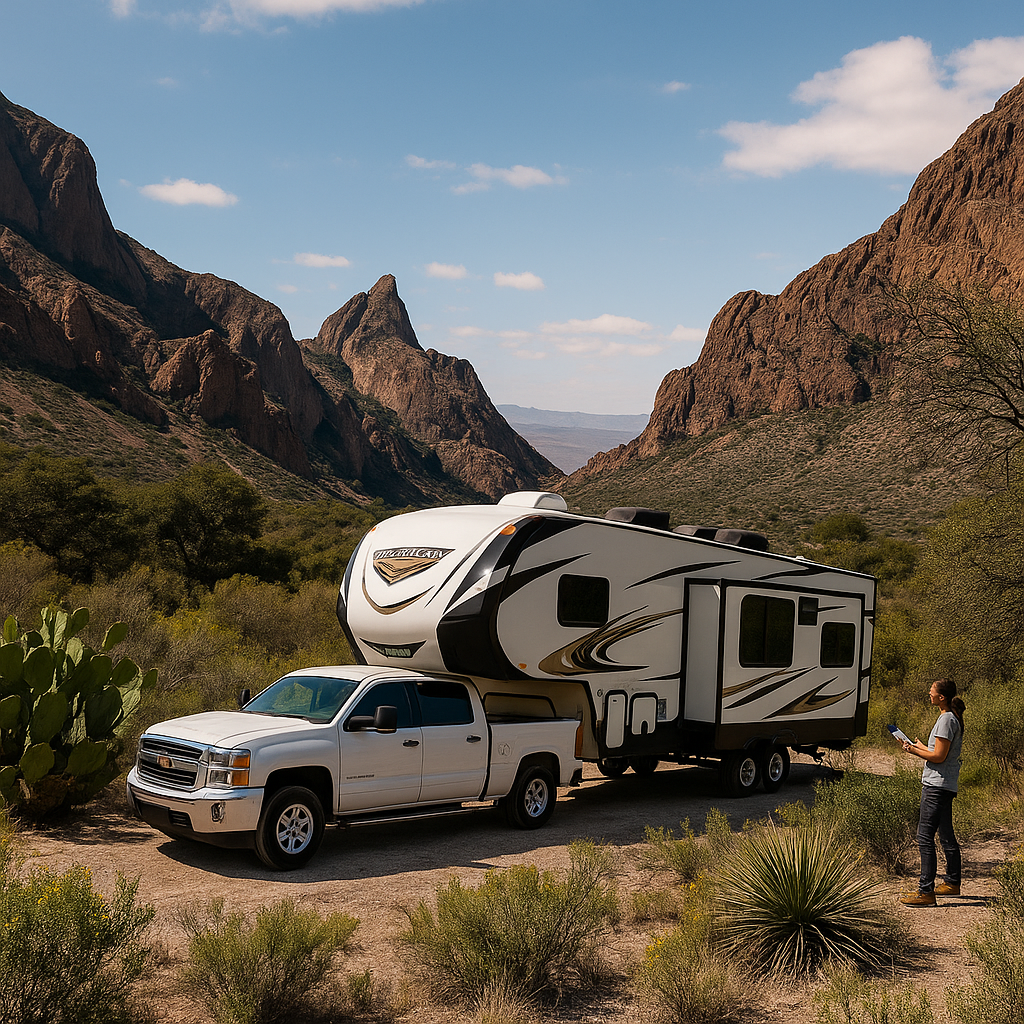
The sun is setting, you’ve driven for hours, and you finally pull into your campsite. Now what? If you’re like most RVers, that moment of arrival brings a mix of relief and mild anxiety. Did you remember to chock the wheels before unhooking? Should you connect water or electric first? What about those stabilizer jacks—when exactly do those come into play? Without a reliable checklist, even simple setup becomes stressful guesswork.
Even experienced RVers occasionally forget crucial steps, especially after a long drive or when arriving at dusk. New RVers often feel completely overwhelmed by the seemingly endless tasks required to transform a travel-ready RV into a comfortable living space. One missed step on your setup checklist can mean spending your first night without hot water, dealing with electrical issues, or worse—damaging your RV’s systems through improper hookup procedures.
That’s exactly why having a reliable RV setup checklist isn’t just helpful—it’s essential for safe, efficient, and stress-free camping. A comprehensive checklist eliminates the mental burden of remembering every step, ensures you maintain proper sequence (some steps must happen in specific order), prevents costly mistakes that could damage your RV, and transforms chaotic setup into a calm, predictable routine.
Why Every RVer Needs a Setup Checklist
The Reality of RV Setup Without a Checklist:
Without a systematic checklist, even straightforward setup becomes complicated:
- You forget whether you’ve completed certain steps, leading to backtracking
- You perform tasks in the wrong order, creating extra work or potential damage
- You skip important safety checks in your rush to get settled
- You make mistakes that won’t reveal themselves until you’re trying to use systems later
- Your stress level remains high throughout setup instead of enjoying arrival
The Power of Using a Checklist:
RVers who use a setup checklist consistently report:
- Reduced setup time – systematic approach is faster than random task completion
- Fewer mistakes – following a checklist prevents overlooking critical steps
- Lower stress – knowing you have a checklist reduces arrival anxiety
- Better system performance – proper setup sequence ensures everything works correctly
- Increased confidence – mastering your checklist builds RVing competence
Who Needs This Checklist?
This setup checklist is designed for:
First-Time RV Owners: If you’ve just purchased your first RV, this checklist walks you through every step you need to know, preventing the overwhelm that many beginners experience during initial setups.
Seasonal RVers: Even if you’ve set up dozens of times, a checklist ensures you don’t forget steps after months away from your RV. Memory fades during off-season, but your checklist remains constant.
Full-Time RV Residents: When you’re setting up at a new location for extended stays, this checklist ensures your home is properly configured for comfortable daily living, not just overnight camping.
Experienced RVers: Veterans know that complacency leads to mistakes. A checklist keeps even experienced RVers sharp and prevents the “I’ve done this a thousand times” errors that happen when you rely on memory instead of systematic process.
Whether you’re setting up at a full-hookup resort with every amenity or boondocking in the wilderness with no connections, this checklist ensures you’ll never miss important steps that could affect your safety, comfort, or RV’s condition. Let’s walk through the complete process that transforms your RV from road mode to home mode—one checklist item at a time.
 ✅ The Complete RV Setup Checklist
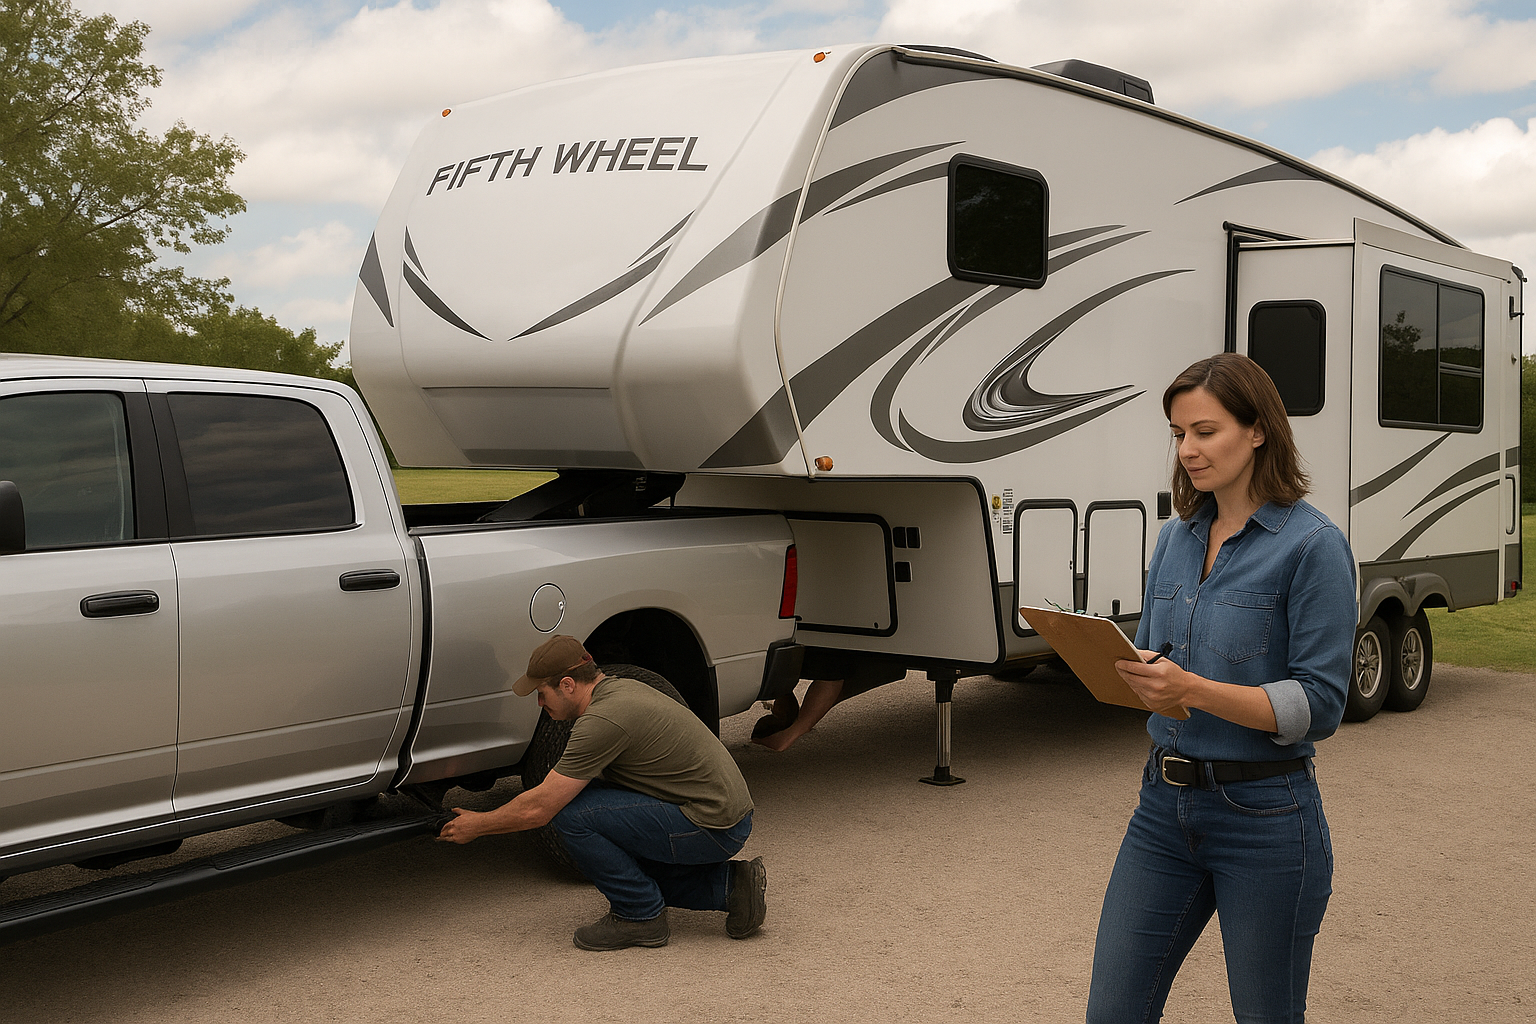
Step 1: Initial Positioning and Safety
Before You Unhook:
☐ Survey your campsite completely
- Check for low branches or obstacles
- Identify utility connections
- Look for level ground
- Ensure adequate slide clearance
☐ Position your RV strategically
- Align for easiest hookup access
- Consider sun exposure and shade
- Think about your view and privacy
- Leave room for awning deployment
☐ Secure your RV
- Engage parking brake
- Put transmission in park (or gear for manual)
- Turn off engine
- Place wheel chocks on both sides of tires
Step 2: Leveling Your RV (The Foundation of Comfort)
Proper leveling is crucial for:
- Refrigerator operation
- Comfortable sleeping
- Proper drainage
- Door and drawer function
Side-to-Side Leveling (Do This First!):
☐ Check level with bubble level or app ☐ Identify which side needs raising ☐ Place leveling blocks on low side ☐ Drive onto blocks (don’t unhook first!) ☐ Recheck level and adjust if needed
Front-to-Back Leveling:
☐ Unhook from tow vehicle (after side leveling) ☐ Use tongue jack or landing gear ☐ Level using built-in or separate level ☐ Lower stabilizer jacks (for stability only) ☐ Never use stabilizers to level
RV Depot Tip: Consider automatic leveling systems for your next RV—they complete this entire process in under 5 minutes with the push of a button.
Step 3: Utility Hookups (Your Lifelines to Comfort)
Electrical Connection (Always First!):
☐ Turn OFF all breakers at pedestal ☐ Inspect pedestal for damage or burns ☐ Plug in surge protector/EMS device ☐ Connect RV power cord to surge protector ☐ Turn breakers ON one at a time ☐ Verify power at RV panel
Safety Note: Never skip surge protection. One bad pedestal can destroy your RV’s entire electrical system.
Water Connection:
☐ Run water at spigot briefly (flush debris) ☐ Attach pressure regulator to spigot ☐ Connect water filter (if using) ☐ Attach fresh water hose ☐ Connect to RV city water inlet ☐ Turn on water slowly ☐ Check for leaks at all connections
Sewer Connection:
☐ Put on disposable gloves ☐ Remove sewer cap from RV ☐ Connect sewer hose with secure fittings ☐ Place hose support if needed ☐ Insert other end into dump connection ☐ Create proper slope for drainage ☐ Keep valves closed until dumping
Cable/Internet (If Available):
☐ Connect coax cable for TV ☐ Set up WiFi booster if needed ☐ Position cellular booster antenna
Step 4: Interior Setup for Comfort
Systems Activation:
☐ Extend slides (check clearance again!) ☐ Turn on water pump (if not on city water) ☐ Switch refrigerator to electric mode ☐ Fill water heater before turning on ☐ Wait 10 minutes, then activate water heater ☐ Open propane valves if needed ☐ Test stove burners briefly
Climate Control:
☐ Open roof vents for ventilation ☐ Deploy vent covers if rain expected ☐ Start A/C or furnace as needed ☐ Open windows for cross-breeze ☐ Adjust thermostats to comfort level
Living Space Setup:
☐ Extend awning (check weather first) ☐ Set up outdoor furniture ☐ Deploy outdoor mat/rug ☐ Hang outdoor lights ☐ Set up grill or outdoor kitchen
Step 5: Final Safety Checks
Before You Relax:
☐ Test all GFCI outlets ☐ Check smoke and CO detectors ☐ Verify all slides locked in position ☐ Ensure steps are stable ☐ Test interior lights ☐ Confirm hot water is working ☐ Check that doors open/close properly
BONUS: Download Your Printable RV Set-Up Checklist
We’ve created a condensed, printable version of this RV setup checklist that you can laminate and keep in your RV for every trip. This quick-reference includes:
- All Essential Setup Steps
- Safety reminders
- Space for personal notes
- Emergency contact lines
- Troubleshooting tips
[Download Your Free RV Setup Checklist PDF]
Print it, laminate it, and keep it handy for every trip!
🧡 Final Tip: Give Yourself Grace
Nobody becomes an RV setup expert overnight. Your first few attempts using this list might feel slow and awkward. That’s completely normal. Every RV expert you admire started exactly where you are now—nervous, uncertain, and checking their checklist repeatedly.
Remember:
- Speed comes with repetition—your checklist helps build muscle memory
- Mistakes teach valuable lessons—use your checklist to prevent repeating them
- Every RVer forgets steps occasionally—that’s why your checklist exists
- Asking for help is smart, not embarrassing—fellow RVers love sharing checklist tips
Mastering your RV setup checklist transforms one of RVing’s most stressful aspects into a smooth, predictable process. With practice and the right approach, you’ll progress from fumbling newcomer to confident expert who can set up camp efficiently in any conditions.

Ready to Upgrade Your RV Experience with RV Depot?
At RV Depot in Cleburne, Texas, we understand that easier setup means more time enjoying the RV lifestyle and less time stressing over whether you’ve completed every step on your list.
Don’t let setup stress diminish your RV adventures. Download our FREE RV Setup Checklist, practice the process, and soon you’ll be setting up camp like a pro. Remember, every expert was once a beginner who refused to give up—and who kept their checklist handy.
RV Depot has been helping RVers master the lifestyle for over 30 years. From selecting the right RV with features that simplify your setup to teaching proper setup techniques step-by-step, we’re your partners in creating stress-free adventures. Visit us today and discover how the right RV partner makes all the difference.
Share Your Success: Once you’ve mastered your setup, we’d love to see it! Tag us in your setup photos with #rvdepot and #HappyCampers. Show other RVers how smooth setup becomes when you follow a systematic routine!

